Blog Posts, Reverse Confetti

Lots of Love-Reverse Confetti’s January Release Blog Hop

I am so happy to have you join me today as we showcase the new January release from Reverse Confetti with you! I hope you have been enjoying your hoping so far and I will have the full Blog Hop list below!
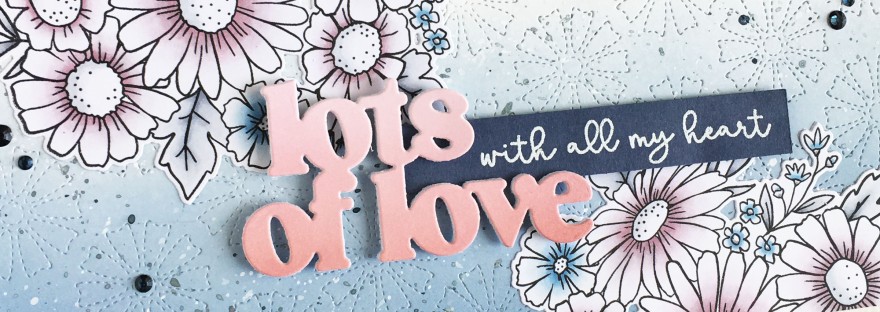
I used these Reverse Confetti products for my slimline design:

I began my slimline with an 8 1/2 x 3 1/2 card base.
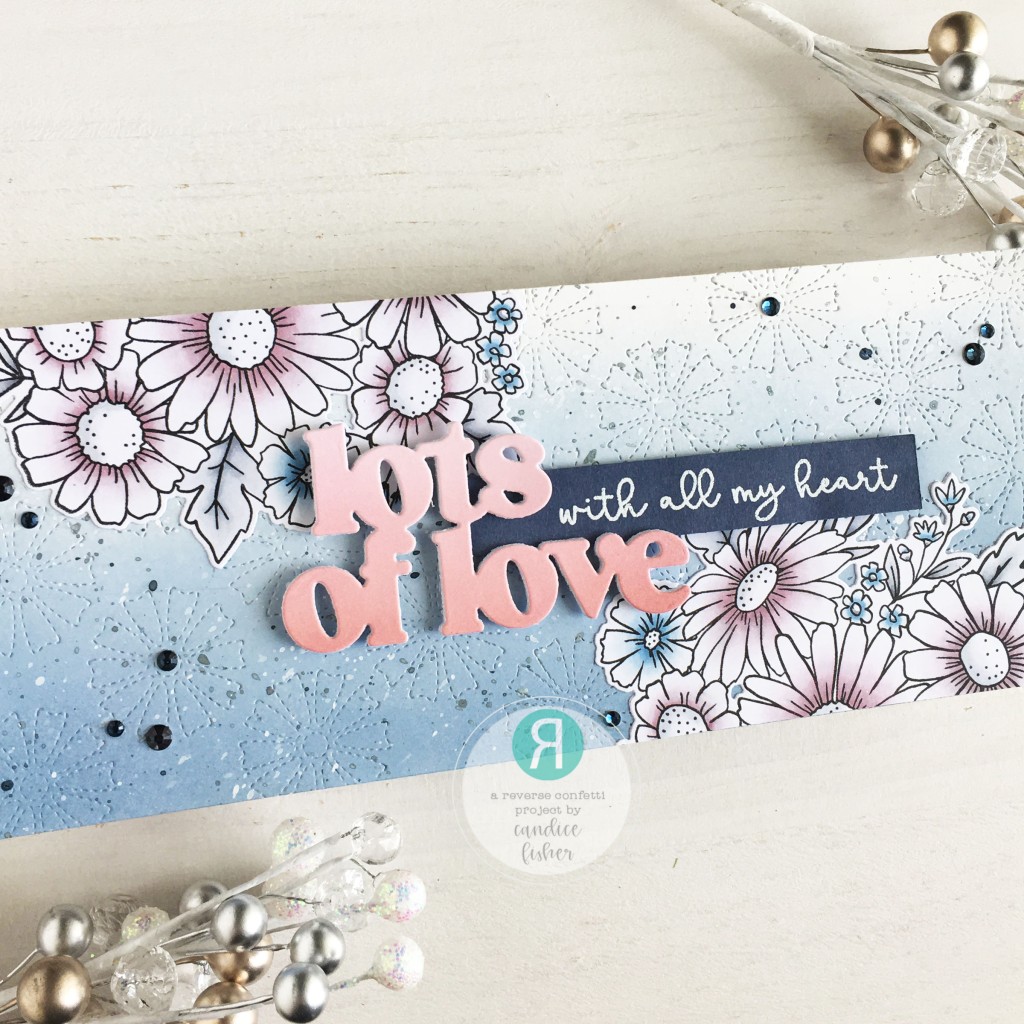
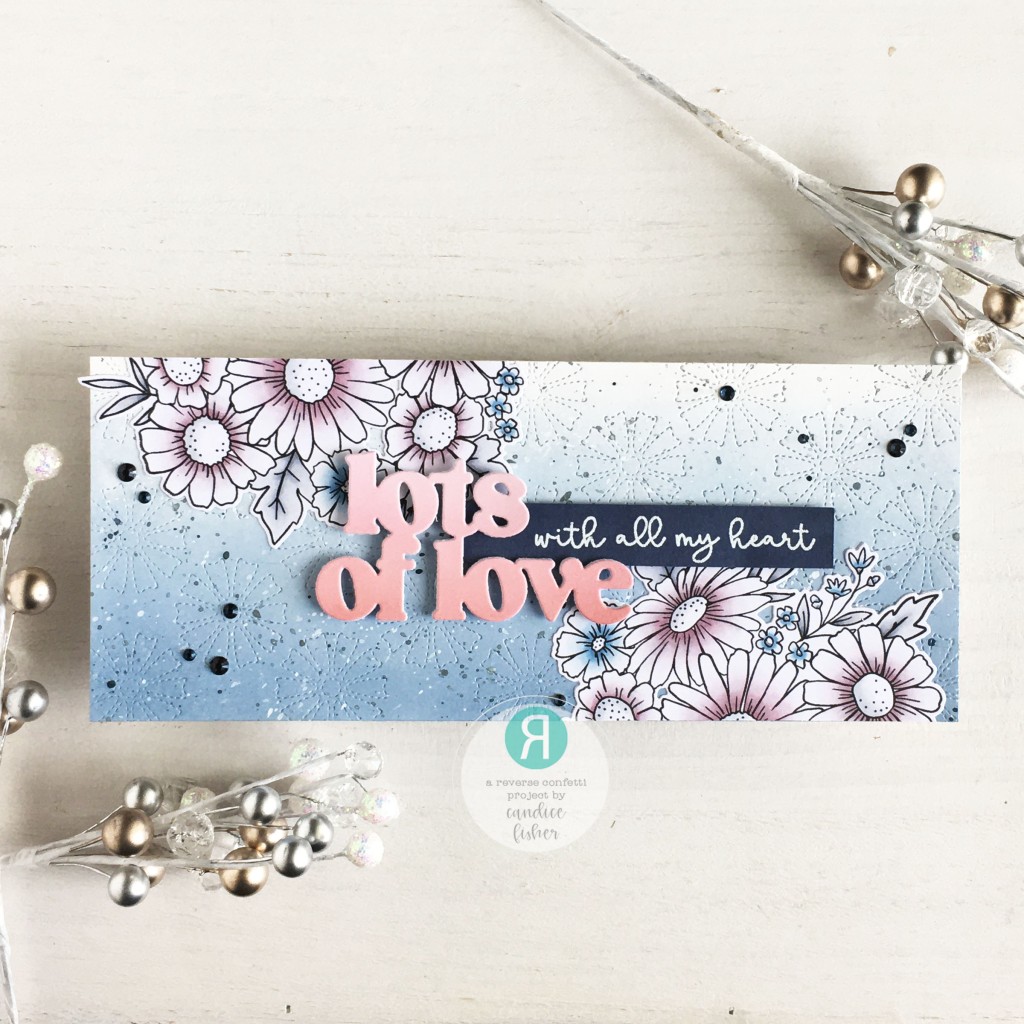
For my background, I trimmed a piece of Bristol Smooth to fit over my card base and die cut the new Stitched Daisies Cover Panel using the partial die cut method (run through partway, rotate and line up, and run through partway again!) I then inked it with stormy sky and splattered with white paint and silver and navy shimmer spray.

While that dried, I die cut the Lots of Love from an inked piece of Bristol Smooth using aged mahogany, victorian velvet, and milled lavender. I layered with multiples to give a solid sentiment.
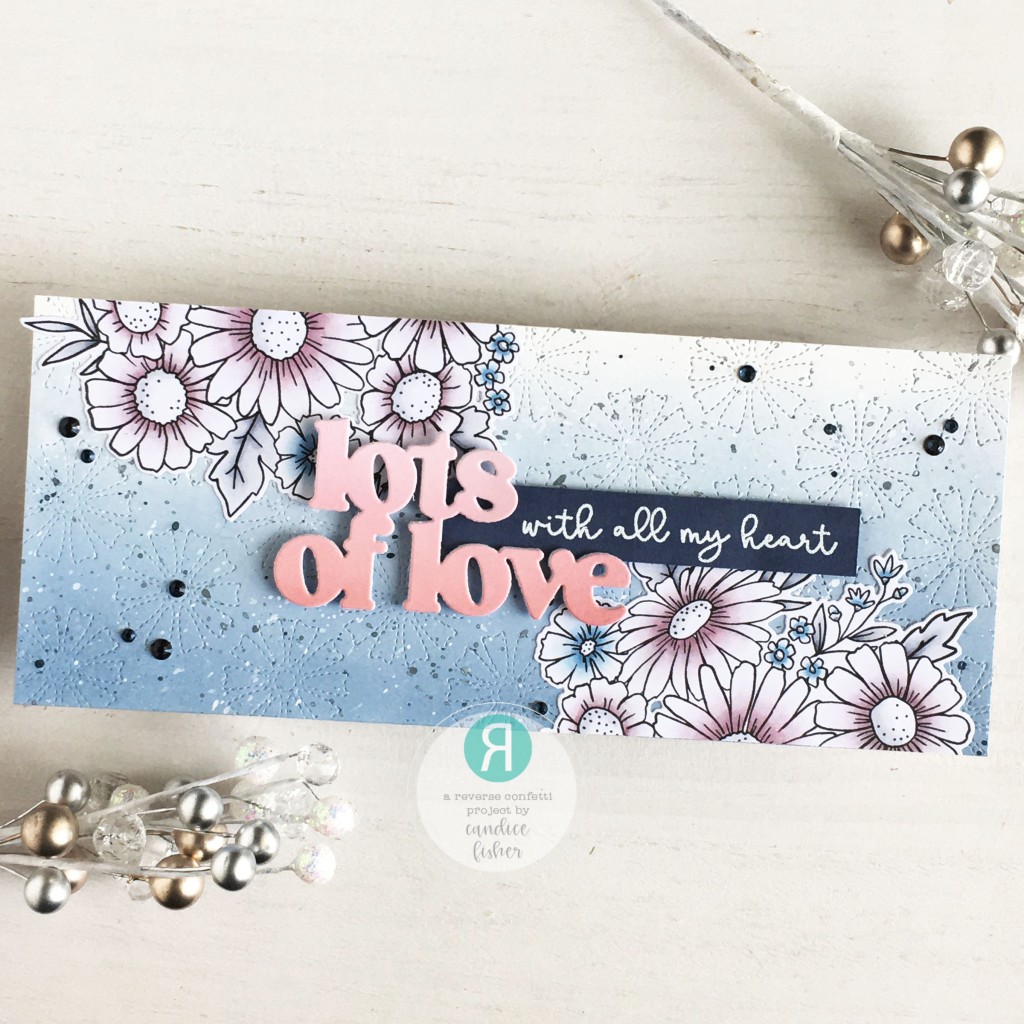
Next, I stamped the daisy cluster, colored it with copic markers, and used the coordinating die to cut it out. I then trimmed it in half gluing a piece to the top and bottom. The sentiment was heat embossed on a navy banner and I adhered it with foam tape and the Lots of Love over it. I fininished with a sprinkling of navy jewels!

You can continue on to Susan Wymer and enjoy the rest of your day!

Thank you for stopping by!

Candice

Reverse Confetti

Cheiron Brandon

Audrey Tokach

Becky Roberts

Maria Russell

Amy Rohl

Lisa Henke

Kelly Lunceford

Dilay Nacar

Amy Kolling

Michelle Short

Kellianne Wilson

Tiffany Pryce Russom

Andrea Shell

Rachel Alvarado

Dana Kirby

Candice Fisher (YOU ARE HERE!)
Susan Wymer

Amy Tsuruta

Tricia Barber

Melissa Phillips

Jenny Colacicco

Olga Moss

Jeanne Jachna

Lien Leysen

Heather Ruwe

Blog Posts, Reverse Confetti

Happy Birthday to You!

Hi! Candice here, and I hope you had a fabulous holiday and are getting ready for the new year! Since I have been busy making Christmas cards my pile of Birthday cards have gone down! So today I am starting to restock those!

I used these Reverse Confetti products for my design:

I began my card with a 6 1/2 x 5 card base.

For the background, I first die cut the stitched frame from grey cardstock, trimmed a piece of Bristol Smooth to fit behind, inked it with shaded lilac, and used foam tape to adhere the frame over the inked panel in the center of my card.

I then die-cut the HAPPY shadow from Bristol Smooth cardstock and the HAPPY from silver foil cardstock.

Next, I stamped the orange blossoms and leaves onto watercolor paper, colored them with Zig watercolor markers, and used the coordinating dies to cut them out. I arranged them around the HAPPY with foam tape and finished with the sentiment on a banner and some purple jewels!

Zig markers used: light pink, shadow mauve, and fog grey

I hope you are inspired to start refilling your Birthday card piles too!

Thank you for stopping by!

Candice

Blog Posts, Reverse Confetti

Adore Him!

Hello, my crafty friends! Candice with you today sharing a mini slimline Christmas card using some of my favorite Christmas sets from Reverse Confetti!

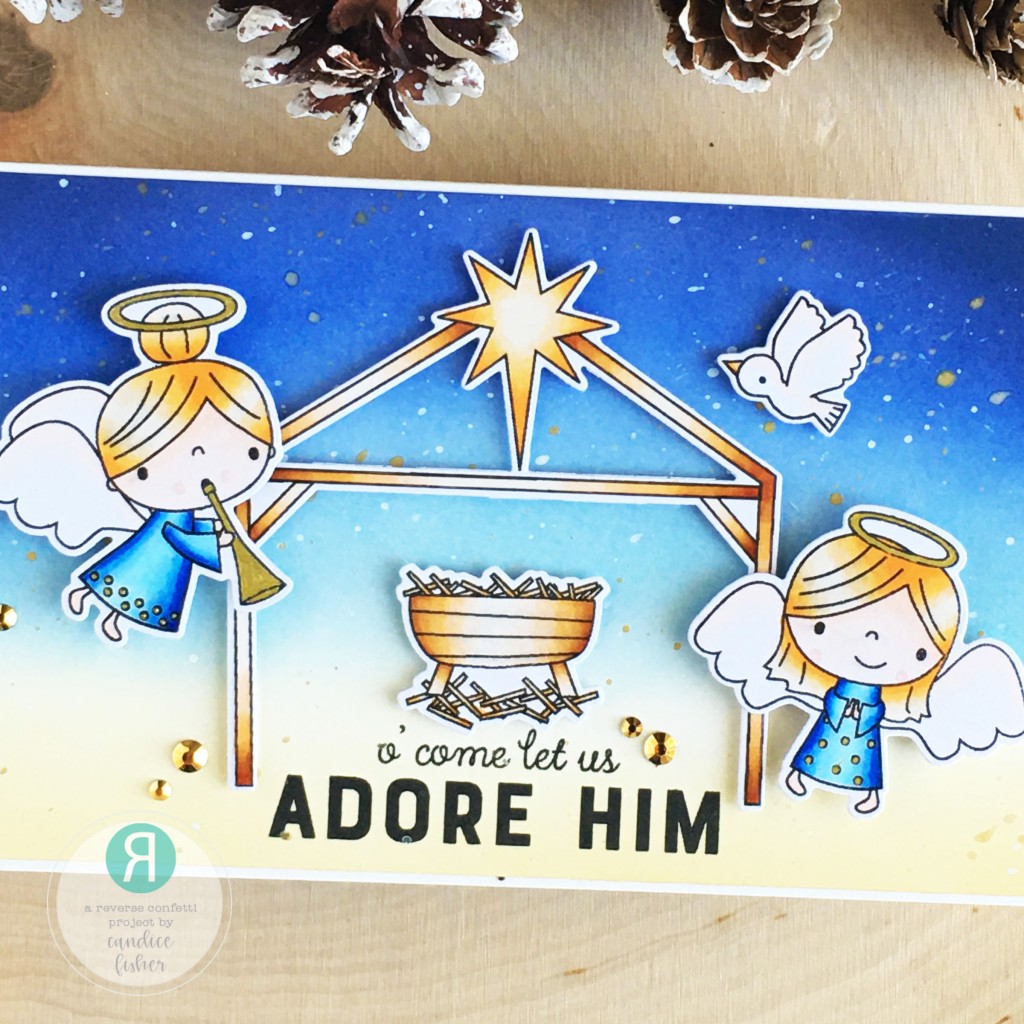
I used these Reverse Confetti products to create my mini slimline design:

I began my mini slimline with a 6 1/2 x 4 card base.

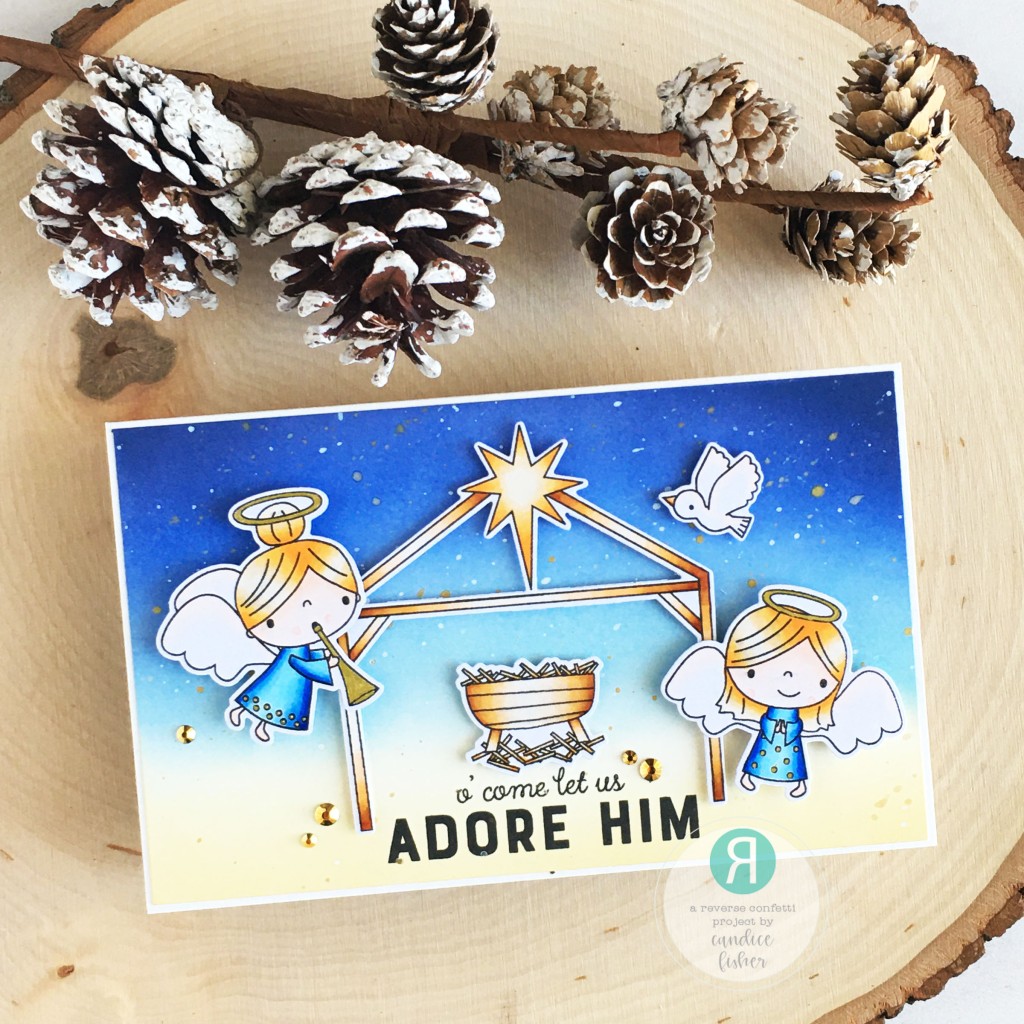
For the background, I trimmed a piece of Bristol Smooth a little smaller than my card front, inked it with chipped sapphire, blueprint sketch, tumbled glass, and antique linen, and splattered it with white paint and gold shimmer spray.

Once my background has dried, I stamped the sentiment along the bottom in the center.

Next, I stamped the angels, crib, manger, and dove, colored them with copic markers, and used the coordinating dies listed above. I then adhered them around my sentiment with foam tape giving some dimension to the scene!

Thank you for stopping by with me and have yourselves a Merry little Christmas!

Candice

Blog Posts, Reverse Confetti

A Cool Christmas!

Hello my ‘Fetti Friends! Candice with you today sharing a cool Christmas card using some of the new release sets!

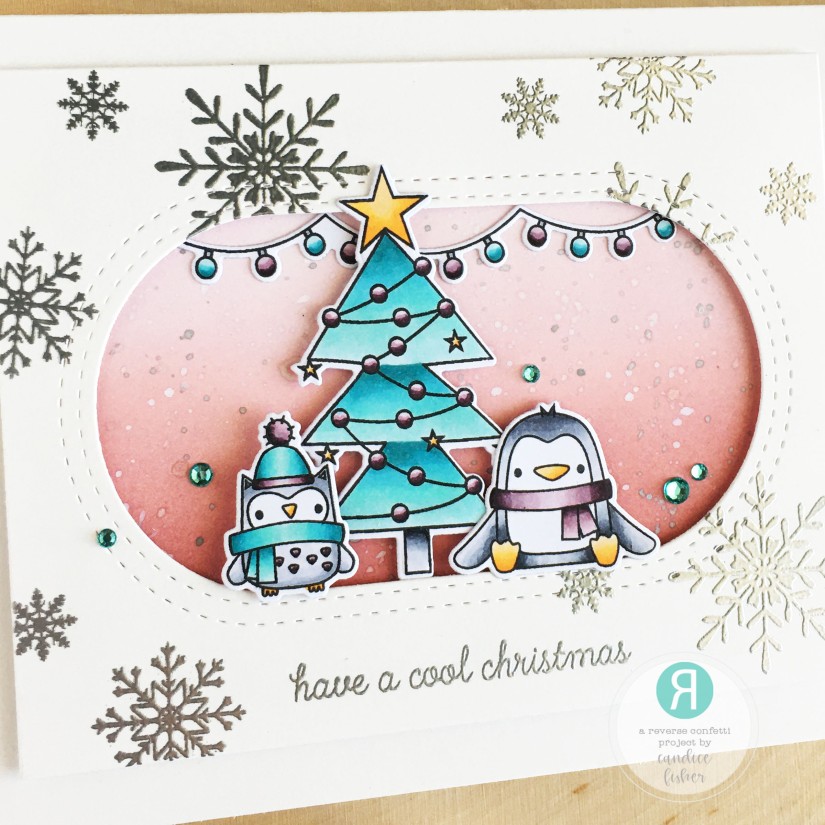
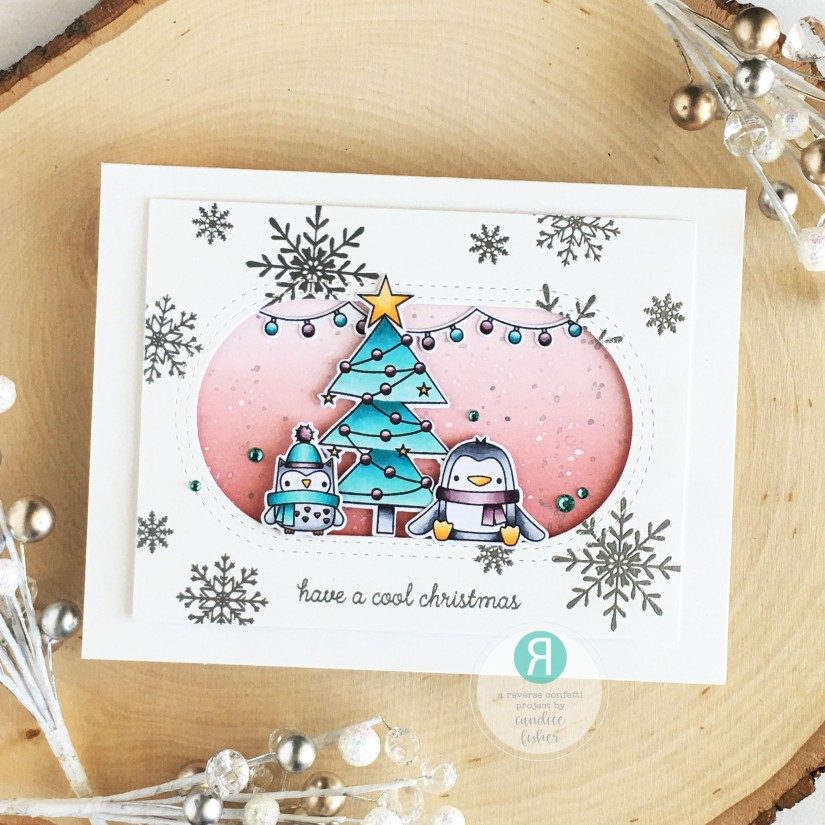
I used these Reverse Confetti products for my design:

I began my card with a 6 1/2 x 5 card base.

For the background, I first die cut the oval window panel from Bristol Smooth cardstock and heat embossed the snowflakes and sentiment in silver. I then trimmed a piece of Bristol Smooth to fit behind the window, inked it with aged mahogany, victorian velvet, and milled lavender, and splattered it with white paint and silver shimmer spray.

Once it dried, I adhered to the panel over the inked background with foam tape centering it on the card front.

Next, I stamped the tree, lights, owl, and penguin, colored them with Copic markers, and used the coordinating dies to cut them out. I adhered them with foam tape inside the window frame and finished with a few blue jewels!

I hope you are enjoying your time creating some fun Christmas cards this year! Thank you for stopping by with me today!

Candice

Blog Posts, Reverse Confetti

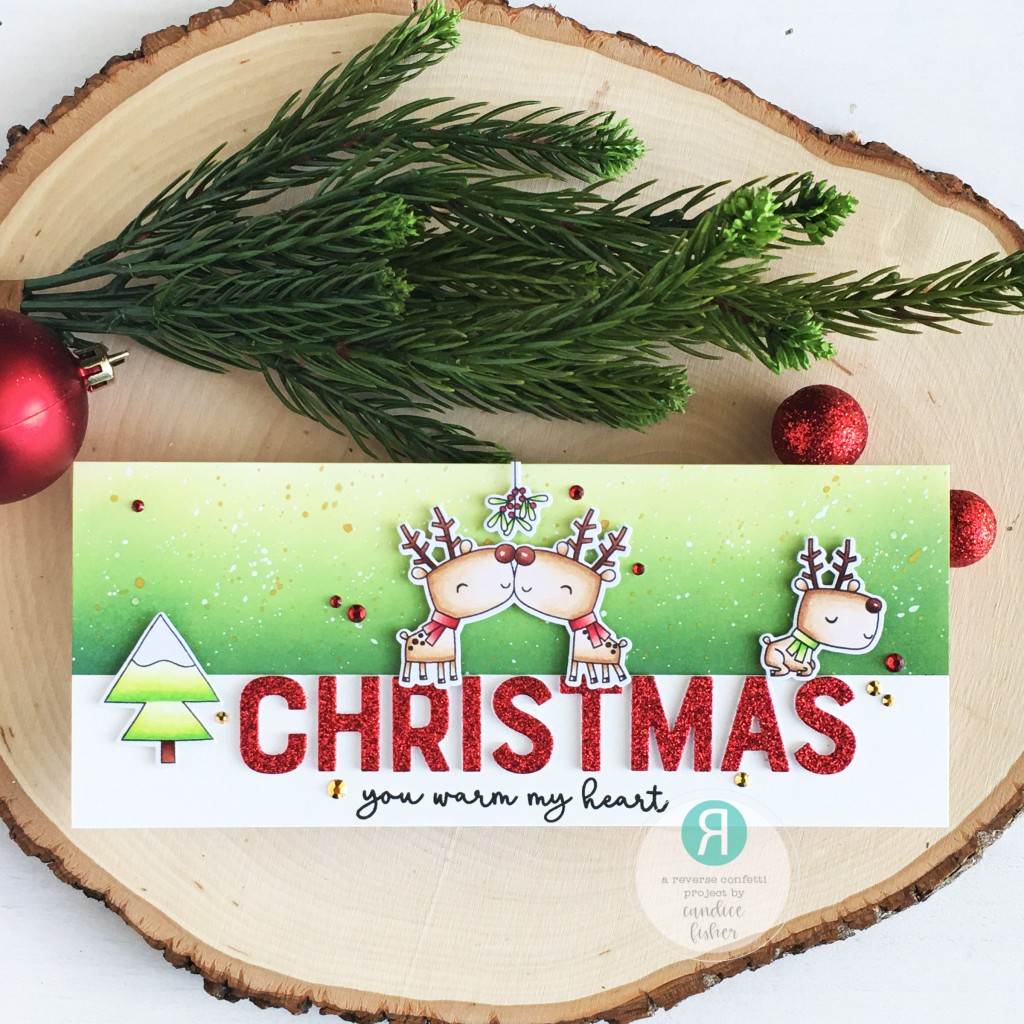
Christmas Reindeer

Welcome to Reverse Confetti’s Inspirational Blog Hop! I hope you are relaxing and being inspired along our hop today and I will be sharing a sweet Christmas slimline card with you!

I used these Reverse Confetti products to create my slimline design:

I began my slimline with an 8 1/2 x 3 1/2 card base.

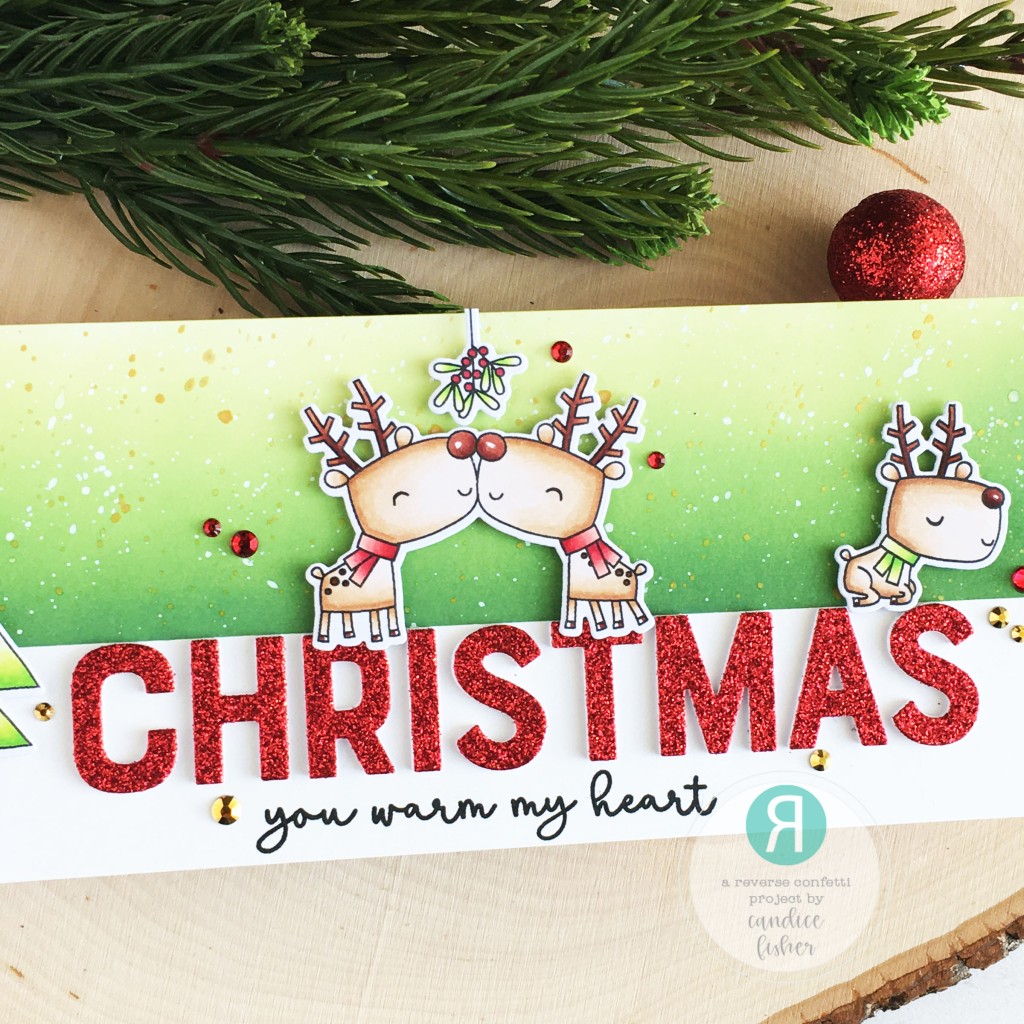
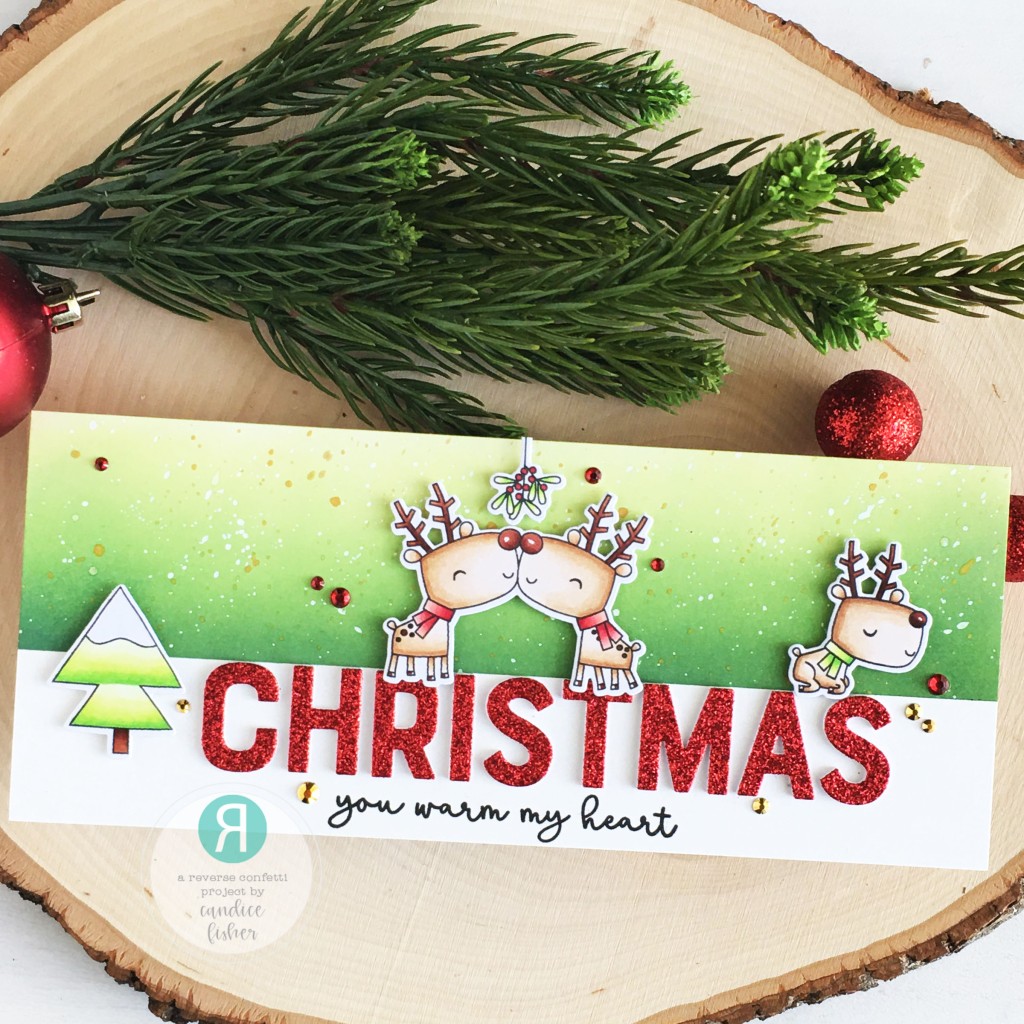
For the background, I taped off the bottom of my card making sure to leave enough room for my word dies and sentiment, inked the top with rustic wilderness, mowed lawn, and shabby shutters, and splattered with white paint and gold shimmer spray. While that dried, I die cut layers of the CHRISTMAS with the top from red glitter carstock.

I then layered them lined up with the green and stamped my sentiment below.

Next, I stamped the reindeer and tree, colored them with copic markers, and used the coordinating dies to cut them out. I then used foam tape to put them around the CHRISTMAS and finished with a sprinkling of red and gold jewels!

You can continue on the Inspirational Blog Hop by heading over to Carissa Wiley with the full list below!

Thank you for visiting with me today and Merry Christmas!

Candice

Reverse Confetti

Carissa Wiley

Candice Fisher HERE

Dilay Nacar

Ali Farmer

Audrey Tokach

Ashley Ebben

Tricia Barber

Lisa Henke

Amy Kolling

Lien Leysen

Andrea Shell

Kellianne Wilson

Dana Kirby

Amy Tsuruta

Olga Moss

Stefanie Loh

Jeanne Jachna

Blog Posts, Reverse Confetti

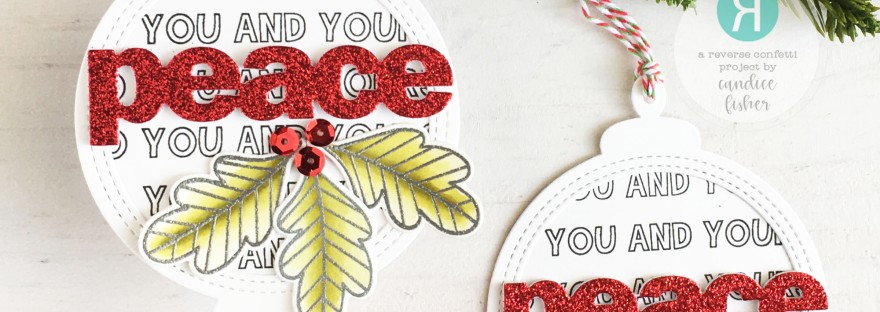
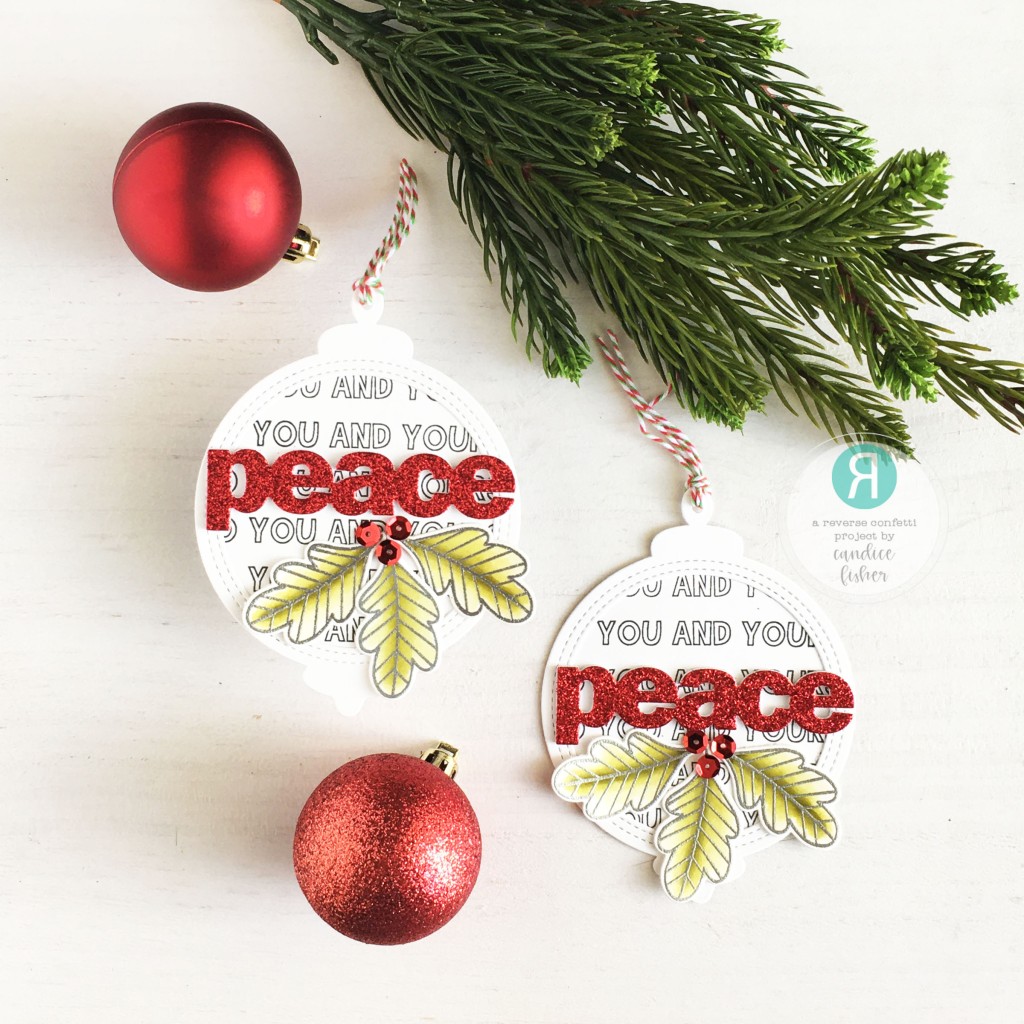
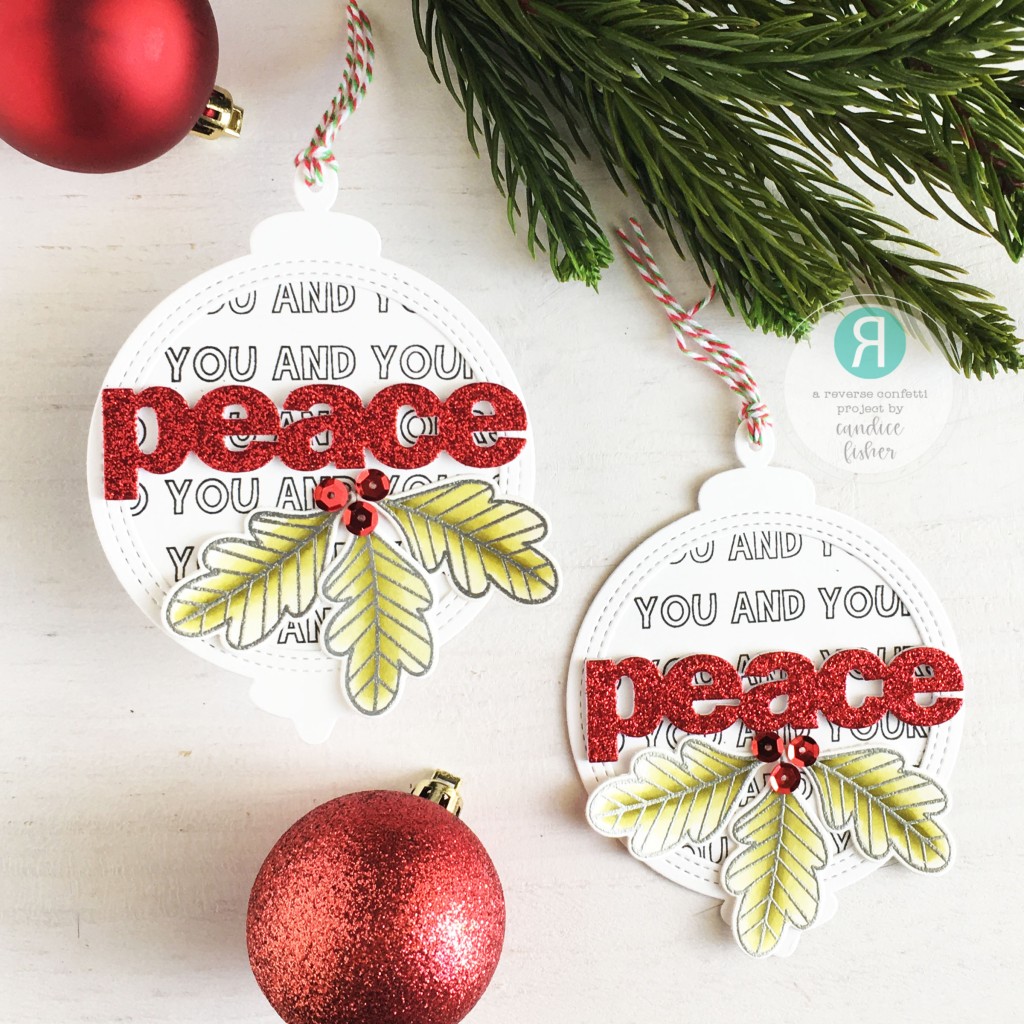
Peace to You and Yours Christmas Tags

Hi! Candice with you today sharing some gorgeous Christmas tags using the new Ornament die! I always find I love to have a variety of Christmas tags for my presents to really add a beautiful finish to them!

I used these Reverse Confetti products to create my tags:

For the base of the tags, I first die-cut 2 of the stitched ornament frames and 2 circles to fit behind from Bristol Smooth cardstock. On the background circles, I repeatedly stamped the ‘to you and yours’ and glued them to the ornament frames.

Next, I heat embossed the leaves in silver, colored them with zig watercolor markers, and used the coordinating dies to cut them out. I then die-cut layers of the PEACE from thick white cardstock with the top layer from red glitter and glued them to the tags. I then adhered the leaves and finished with some red sequins for berries and some twine!

Thank you so much for visiting with me today!

Candice

Blog Posts, Reverse Confetti

Christmas Ornaments

Candice with you today sharing a quick and fun ornament you could make with your children for Christmas! One of our family traditions is to make a yearly ornament so that by the time my kids get their own tree they will have ornaments with memories to go on their tree!

I used these Reverse Confetti products for my ornaments:

I die cut 3 of the green dots, 3 of the striped, and 6 of the shimmer white cardstocks from the inside drop cover, scored them down the center and adhered all of them together except closing it together using strong double-sided tape.

To assemble the ornaments, I trimmed pieces of gold twine, tied a knot on the bottoms, and closed the ornaments together with the twine in the center. To add a bit more sparkle, I glued some gold domes on the white inside pieces.

You can make these with all that Christmas pattern paper you have and you can also add extra layers to make it thicker if you would like to!

Thank you for visiting today!

Candice

Blog Posts, Reverse Confetti

Peace & Joy

Hello again! Candice with you today sharing a great way to combine your word dies to create a great focal point sentiment on your card!

I used these Reverse Confetti products to create my slimline design:

I began my slimline with an 8 1/2 x 3 1/2 card base.

For my background, I trimmed a piece of Bristol Smooth a little smaller than my card front, inked it with broken china, tumbled glass, mowed lawn and bundled sage, and splattered with white paint and gold shimmer spray using a damp paintbrush.

While that dried, I die cut the PEACE from a piece of Bristol Smooth inked with the broken china and tumbled glass, and the JOY from another piece inked with the mowed lawn and bundled sage and layered the 2. I then used my Cameo Silhouette to cut out the & from some pattern paper.

Next, I stamped Mary, Joseph, and Jesus and the doves colored them with copic markers, and used the coordinating dies to cut them out. I then heat embossed the stars in gold and cut out with the matching dies and heat embossed the sentiment on a small banner. To put the card together, I first arranged my word die sentiment and placed the sentiment banner along the bottom of the JOY. The images I placed around the words to draw your eye in and finished with some gold domes!

I hope you try to use your word dies to create a great focal point on your next card!

Thank you for stopping by today!

Candice

Blog Posts, Reverse Confetti

Peace

Hello! It’s Candice with you today sharing a sweet winter mini slimline design using your word dies in a different but beautiful way!

I used these Reverse Confetti products for my mini slimline design:

I began my mini slimline with a 6 1/2 x 4 card base.

For the background, I trimmed a piece of grey cardstock a little smaller than my card front, die cut the shadow PEACE 3 times, leaving space for my stamped sentiment. I then die cut three of the PEACE words from Bristol Smooth cardstock inked with milled lavender and tumbled glass and used foam tape to adhere to the card front.

Next, I stamped the birds and birdhouse, colored them with copic markers, and used the coordinating dies to cut them out. I arranged them around the words and finished with an extra sentiment on a banner and a sprinkle of jewels!

Thank you for visiting with me today!

Candice

Blog Posts, Reverse Confetti

Let it Snow!

Welcome to the November Reverse Confetti Inspirational blog hop! You should have come from Reverse Confetti, but if starting here, I have the full blog hop list below. We are showcasing the amazing November new release that is full of gorgeous new stamps and dies! I am highlighting a few of them for you today on my slimline card!

I used these new Reverse Confetti products to create my slimline design:

I began my slimline with an 8 1/2 x 3 1/2 card base.

For the background, I trimmed a piece of Bristol Smooth cardstock a little smaller than my card front, heat embossed 3 snowflakes in white, and then inked with aged mahogany, victorian velvet, and milled lavender, and then lightly splattered with white paint.

While I let it dry, I die cut my shadow JOY from vellum cardstock and the JOY from copper foil cardstock and adhered them together.

Next, I stamped the penguins, bear, tree, and string lights, colored them with Copic markers, and used the coordinating dies to cut them out. I then tucked a banner with the sentiment (this is a freebie with a $60 purchase!) heat embossed in white and inked behind the JOY using foam tape on both. I arranged my cuties under the string lights and finished with some accents using gold stickles and a gold pen!

I hope you continue to be inspired by our talented DT and our amazing “Fetti Friends as you check out all the ways to use the gorgeous new release! Your next stop is with Kelly Lunceford and I have the whole Hop Listing below!

Thank you so much for stopping by!

Candice

Reverse Confetti

Candice Fisher (YOU ARE HERE!)

Kelly Lunceford

Dilay Nacar

Audrey Tokach

Amy Rohl

Ali Farmer

Ashley Ebben

Becky Roberts

Tricia Barber

Lisa Henke

Cheiron Brandon

Lien Leysen

Amy Kolling

Olga Moss

Heather Ruwe

Andrea Shell

Jenny Colacicco

Kellianne Wilson

Susan Wymer

Dana Kirby

Rachel Alvarado

Amy Tsuruta

Tiffany Pryce Russom

Stefanie Loh

Jeanne Jachna